In Vivo Validation of Optical Probes
Near-infrared Dye Labeled Targeting Agents and Optical Imaging
You probably know that fluorescently labeled targeting agents and optical imaging are effective for monitoring disease progression and evaluating treatment efficacy in animals. Near-infrared (NIR) labeled targeting agents are valuable for non-invasive, longitudinal study of disease (including tumorigenesis and metastasis). A properly developed NIR-labeled targeting agent can even enable preclinical study of therapeutic effects, pharmacokinetics, and pharmacodynamics of drug-target interactions.
But what does "properly developed" mean? How do you even get started if the possibilities and complexities of developing a probe are completely new to you?
The goal of this guide, and the other three guides in this series, is to help you with the basic questions you need to answer when confronted with the task of developing an optical probe. Each guide tackles a specific segment of the process, and resources are linked at every step for further exploration.
To get started, here are the main phases of the probe development process and the guides that introduce each phase.
Probe Design and In Vitro Validation (licor.com/probe_design_guide)
In Vivo Validation of Optical Probes (licor.com/in_vivo_guide)
Ex Vivo Validation of Optical Probes (licor.com/ex_vivo_guide)
The techniques described in this guide require a basic understanding of animal research.
All animal research must meet the institutional policies and practices of your research institution, which includes a review and approval process conducted by an internal review board (such as the Institutional Animal Care and Use Committee, IACUC, in the United States).
Introduction to In Vivo Probe Validation
Before beginning a large animal study, it is critical to confirm that your labeled targeting agent is specific to the intended target within the biological complexity of the whole animal. Understanding the biodistribution and clearance of a labeled targeting agent is critical for meaningful image analysis and interpretation.
This guide will provide an overview of how to validate a targeting agent in vivo.
Develop a Protocol
The first order of business in an animal study is to develop a protocol that will meet IACUC standards. Every study is unique, but it is helpful to consider the following general points before submitting a protocol.
Animal Care
How you care for your animals can influence imaging results. Bedding materials, feed, and medications can introduce fluorescence that may indirectly affect image quality.
- Diet
- Avoid diets with components that fluoresce in the target wavelength. For example, fluorescence from chlorophyll can interfere with 700 nm detection. Such interference can have a detrimental effect on experimental analysis.
- To find the right diet for the animals in your experiment, read the In Vivo Imaging Animal Diet Considerations Guide (licor.com/in_vivo_diet).
- Bedding
- Some bedding products fluoresce. You can image the bedding by itself before imaging the animal to determine if the bedding has low fluorescence in the target wavelength.
- Medications
- Be aware when medications are applied, particularly on the skin, as some medications may affect imaging. Medications on the skin can block or enhance signal, which can interfere with imaging the region of interest (ROI).
- Pigment
- Skin pigments, especially melanin, can block signals and affect analysis.
- Fur
- Fur can block as much as 45% of signal. For best results, remove fur from the region of interest whenever possible. Hair can be removed by shaving or by using a depilatory agent, such as Nair™.
Experimental Parameters
The following parameters are important to optimize before beginning a large scale study. Optimization experiments should be performed on a small group of subjects that will not be part of the main study.
- Route of Administration
- The choice of injection site can affect the probe's behavior. Optimize the route of administration for each probe. The most commonly used routes are intravenous and intraperitoneal, but other options may be used, such as topical, intradermal, or intrathecal.
- Time Point for Imaging
- Choose the imaging time point that has the best signal-to-noise ratio. Before the probe has cleared adequately, fluorescence throughout the animal will be too intense to accurately image the ROI.
- Position During Imaging
- Identify the ideal animal position that provides the best view of the region of interest by taking several images. To gain a complete understanding of how fluorescence appears in the animal, consider acquiring images of the left, right, dorsal, and ventral regions of the animal. Don't settle for just one image!
- Dose
- Small molecules generally clear the body quickly. You may need to increase the dose for effective use of a small molecule optical probe.
Treatment Consideration
Include positive and negative controls to define imaging results, as well as to confirm that the labeled targeting agent is specific to the intended region of interest, (e.g. tumor).
- Negative controls might include labeled non-specific agents of similar molecular weight that show no specificity to the intended cell or receptor of interest, or a placebo (saline) control.
- Positive controls to the cell or target-of-interest can act to confirm specificity, demonstrate localization, or competitively bind the labeled targeting agent in vivo.
Pearl Trilogy Imaging
The Pearl Trilogy Small Animal Imaging System is designed for rapid and intuitive small animal imaging. The animal imaging process consists of three overall phases:
Capture a baseline image of the animal prior to administering the labeled targeting agent.
Administer the labeled targeting agent.
You can administer the targeting agent to an animal that is already in the imager by using the Compound Injection Clip (licor.com/injection_clip).
Capture images at specific, predetermined time points.
The following procedure highlights how to capture animal images using the Pearl Trilogy Small Animal Imaging System with Image Studio Software.
A detailed version of this procedure is available in the Pearl Trilogy manual (licor.com/trilogy_manual).
Step 1. Turn on the Pearl Trilogy and Start Image Studio Software
Before animal preparation, turn on the Pearl Trilogy and launch Image Studio. This will allow time for the Pearl Trilogy to start and the heating plate to warm up.
Step 2. Select Image Studio Acquisition Settings
Adjust the following settings in Image Studio to fit the needs of your experiment.
Your settings will be saved and reapplied when you reopen Image Studio and connect to the Pearl Trilogy.

Set the warming bed temperature and wait for the bed to warm up. The temperature is usually set close to the animal's internal body temperature.
Select the imaging channels you plan to use.
Select a resolution. The 170nm setting is recommended, because it provides a combination of speed and clarity.
In the Focus Position list, click Focus Position to run a focus routine that will help you determine the best focus position.
Select Single Image or Time-Series Imaging.
Step 3. Prepare Animals for Imaging
Remove hair from the target region (shave or use depilatory agent).
Clean the animal, making sure to remove urine, feces, and bedding.
Capture a background image of the imaging bed to see if any dye has been left on the bed from the previous scan. The background image should be completely dark. If any fluorescence is visible, clean the imaging bed again and take another background image to ensure the bed has been cleaned properly.
Step 4. Prepare Anesthesia
Ensure gas anesthesia is flowing from the vaporizer to the Pearl Trilogy and the induction chamber, which is associated with the vaporizer unit.
Ensure you are using anesthesia in accordance with all applicable regulations and instructions.
Step 5. Acquire Images
In Image Studio, once you have set the correct settings for your experiment, click Acquire Image on the Acquire tab to capture an image.
- Be sure to acquire images using the method approved in the study protocol.
- Remember to include a time 0 baseline image of animals for reference.
Analyze Images
With the Image Studio Small Animal Image Analysis key, you have access to the tools you need for easy image comparison and analysis.
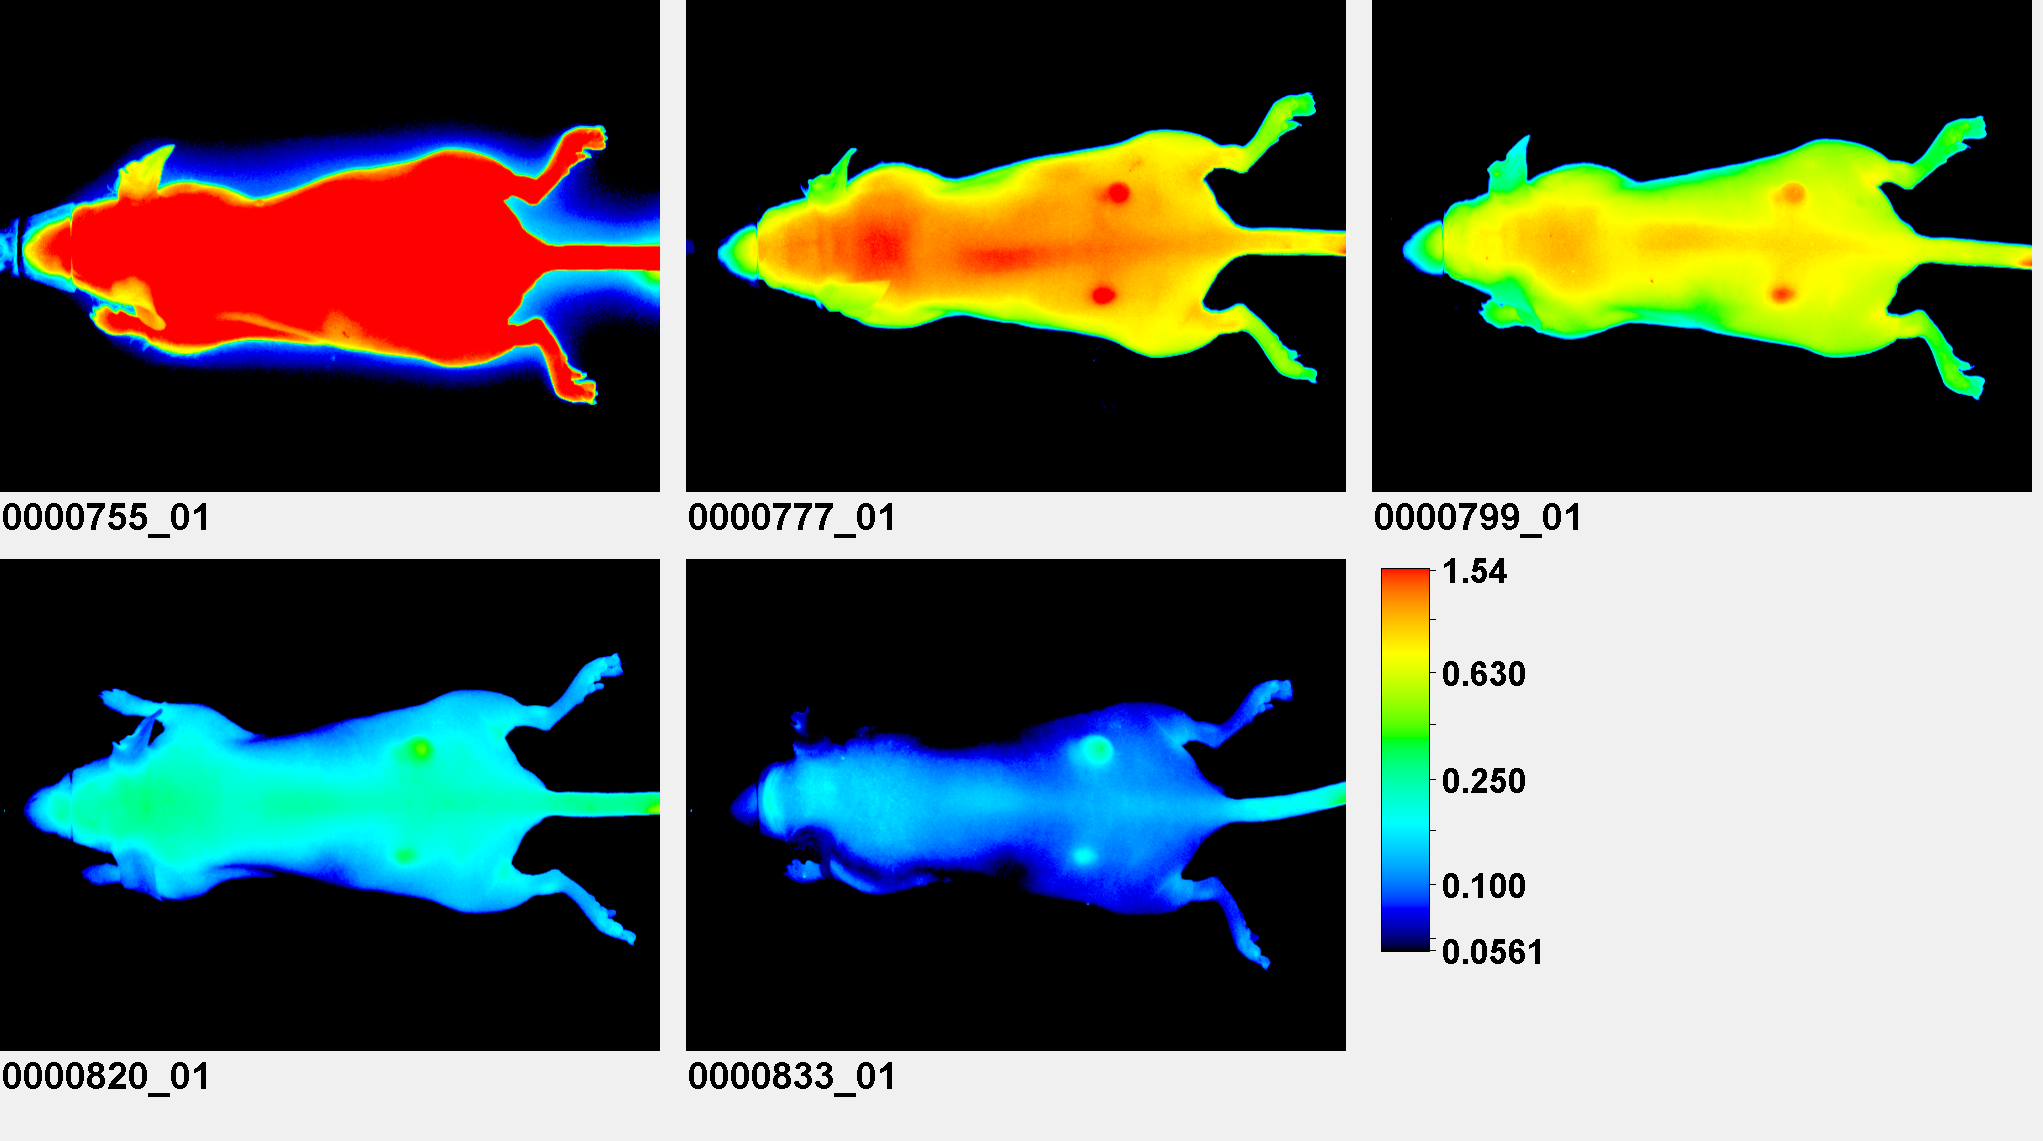
Images can be screened one-by-one or images from the same series can be viewed side-by-side using the same display settings.
Compare Images with Confidence by Linking Their Display Values
Image display values can be linked to aid in accurate image comparison. The Link Lookup Table (LUT) tool lets you set the display values for all images in a series to the display values of a selected image. The LUT tool is useful for comparing images from a series, such as:
- Dose responses
- Time courses
- Clearance profiles
- Biodistributions
To link the display values for a series of images:
While holding down CTRL, click all the images in the Images Table that you want to link.
Above the Image Table, click Filter > Selection.

The Image Table will now show only the images you selected.
In the Images Table, click the image whose display values you want to use.
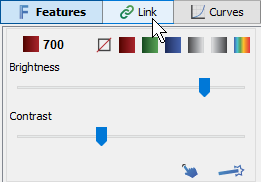
Click Link at the top of the Display Panel.

Side-by-Side Comparison
You can display images side-by-side by adjusting the View Mode on the Image tab.

Signal Analysis
A standard set of image analysis tools is available in Image Studio, and the Small Animal Image (SAI) Analysis key can be installed to provide functionality specifically for analyzing animal images.
For more general information about analyzing small animal images, see the In Vivo Image Analysis Options Tech Note (licor.com/sai_guide). The SAI Software Guide (licor.com/in_vivo_analysis) has step-by-step instructions for analyzing small animal images in Image Studio.
Regions of Interest
You can define regions of interest (ROI), i.e. areas of the image with signal to be quantified, using rectangles, ellipses, or a shape drawn freehand.

Small Animal Image Analysis
The Small Animal Image Analysis key significantly reduces analysis time by allowing you to define and quantify ROI quickly. After choosing a couple parameters and setting a background shape, you can click the center of an ROI, and Image Studio will automatically draw a shape around the ROI.

Image Editing
Image Studio also has standard image processing tools, like tools to crop, copy, duplicate and delete. Image processing tools are located on the Image tab or can be accessed by right clicking an image entry in the Image table.
